Tom Woolley is a freelance illustrator based in Birmingham, UK who specializes in illustrated maps, 3D diagrams, and vector artwork. Today he takes us through his step-by-step process for illustrating a map—from picking out your landmarks, choosing the right colors, and all of the details in between.
In this tutorial, I’m going to describe how I approach creating an illustrated map step-by-step. The examples in this tutorial are taken from a real commission for Wanderer Magazine who asked me to design a map of Hanoi in Vietnam:
First, you need to decide on the landmarks to include on the map. In this example, the client provided me with a list of landmarks they wanted to highlight in the article, plus a few people and food item ideas.
Using Google Maps, you can plot each landmark and see how they are distributed across the city. If you’re choosing the landmarks yourself I’d recommend picking ones that are evenly distributed across the map so you can have an evenly balanced composition.

Google map screenshot of Hanoi
Take a screenshot of the Google map and then import this into Adobe Illustrator (or any image creation software of your choice). Place the screengrab in the top layer, set the Transparency to Multiply, and lock that layer.
Create a new layer underneath the top layer and you’re ready to start creating your illustrated map. By placing the Google Map in the top layer, this means it’s always there for handy reference.
Create a base layer and choose a background color. I tend to think of colors that somehow make me think of the city I’m illustrating—but sometimes the color of a certain landmark will set the tone for the rest of the map.
In my illustrated map of Birmingham, the Library has a distinctive blue and yellow color scheme and in my illustrated map of New York, the yellow of the taxi cab was my starting point.
For this map of Hanoi, I chose a warm pink background that made me think of a hot bustling city and I picked out a few contrasting colors for everything to be placed on top.

Lock the background color layer and create a new layer on top. Draw the major roads using the Google Map reference and add any rivers or train lines. You’ll then start to build up a network of roads and the skeleton of your map will start to emerge.

Roads are marked out on the map
Start adding your icons and landmarks. I usually sketch them out first on paper and spend a bit of time searching the web for images of the buildings from different angles.
I then import them into Adobe Illustrator so I can lay the sketches out on the map and experiment with different sizes and compositions.
As I mentioned before, you’re looking for an evenly distributed composition where the landmarks are nicely spread out across the page. If a few of the landmarks are grouped together you can spread them out and then link them to their actual location with arrows. If one of your landmarks is way off the map you could add a map insert to show that this particular icon is outside of the main map.

Hanoi illustrated map with landmarks sketched out
Add some food and people. In addition to buildings and landmarks, food and people really help bring a map to life. Think about local delicacies you could include. These kinds of illustrations can also be used to fill any empty space.
When you’re happy with the placement of the map features, check your colors and try to get the composition to harmonize. I like to use bright contrasting colors to try to get the pops of color balanced evenly across the map.
Add some decorations such as trees, small buildings, and shrubs. These kinds of smaller details can really bring the map together. And voilà! Here is the final map of Hanoi:
 Map of Hanoi city hanoi illustrated map illustration map vector vietnam" />
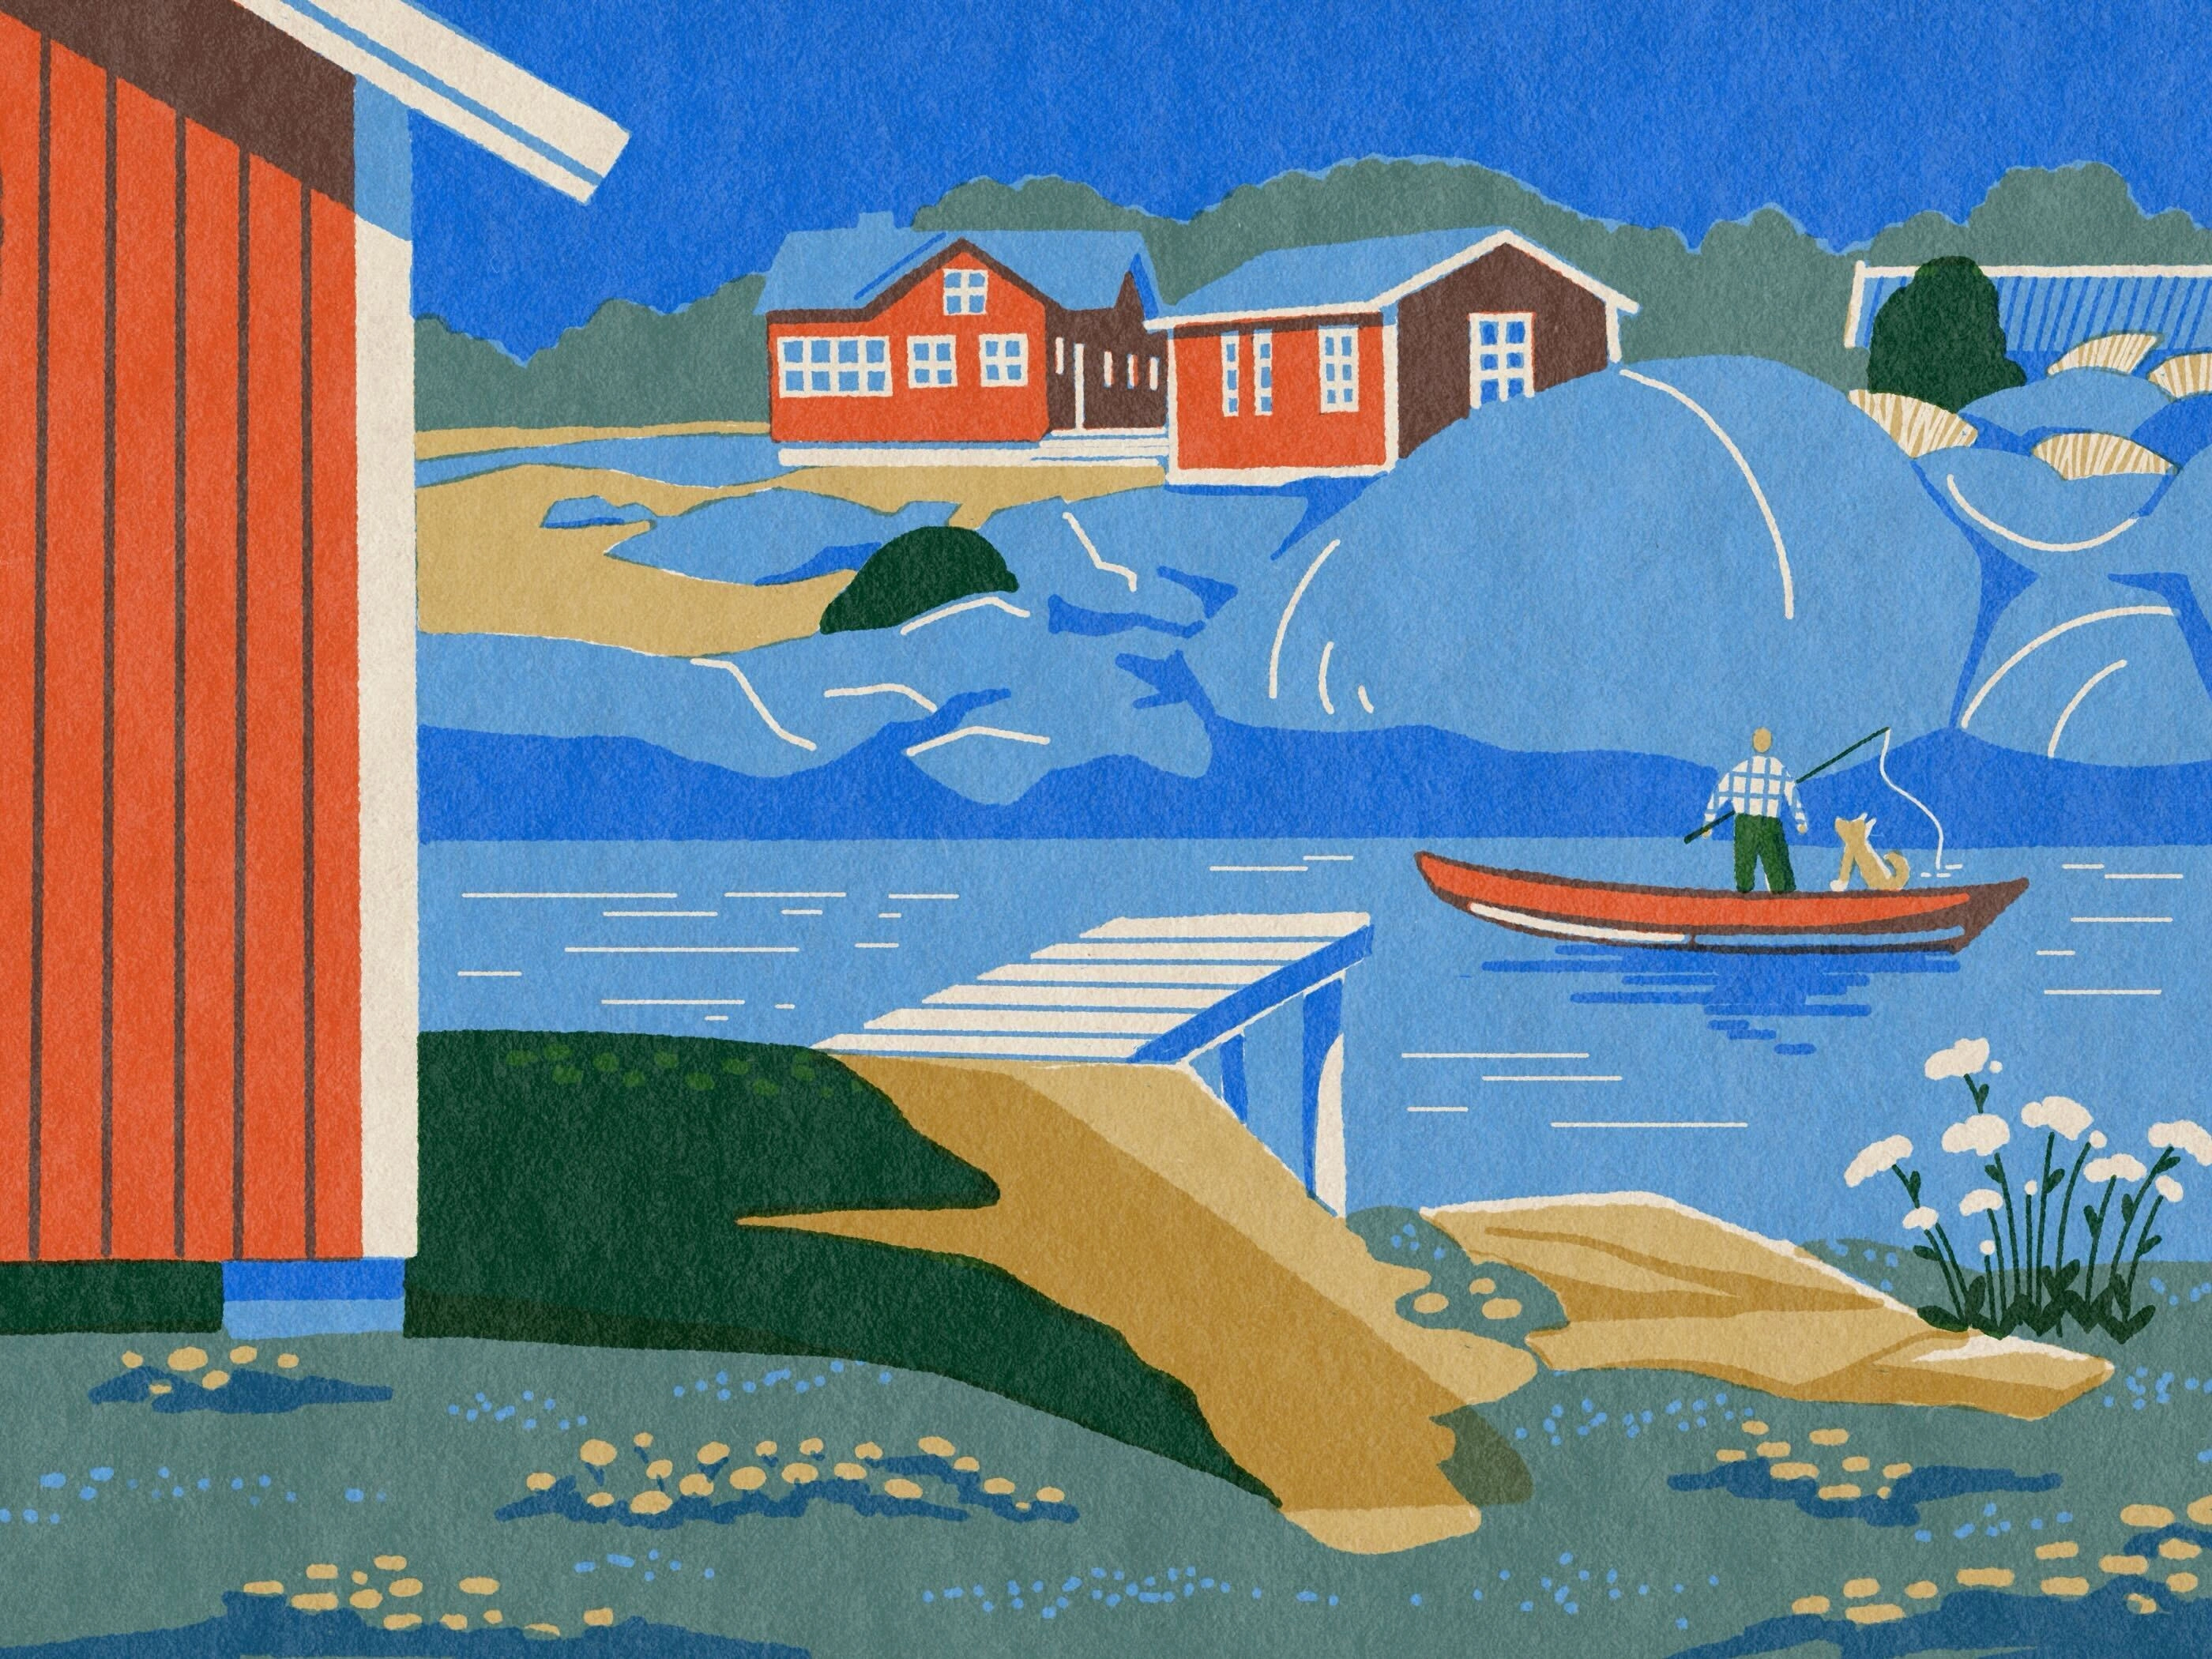
An illustrated map of Hanoi, Vietnam for Wanderer Magazine.
If you have any other questions feel free to get in touch. You can find me on Dribbble, Instagram, Twitter, and at tomwoolley.com.
This post was originally published on tomwoolley.com.
Find more Process stories on our blog Courtside. Have a suggestion? Contact stories@dribbble.com.